1. Sign in and secure the administrator account
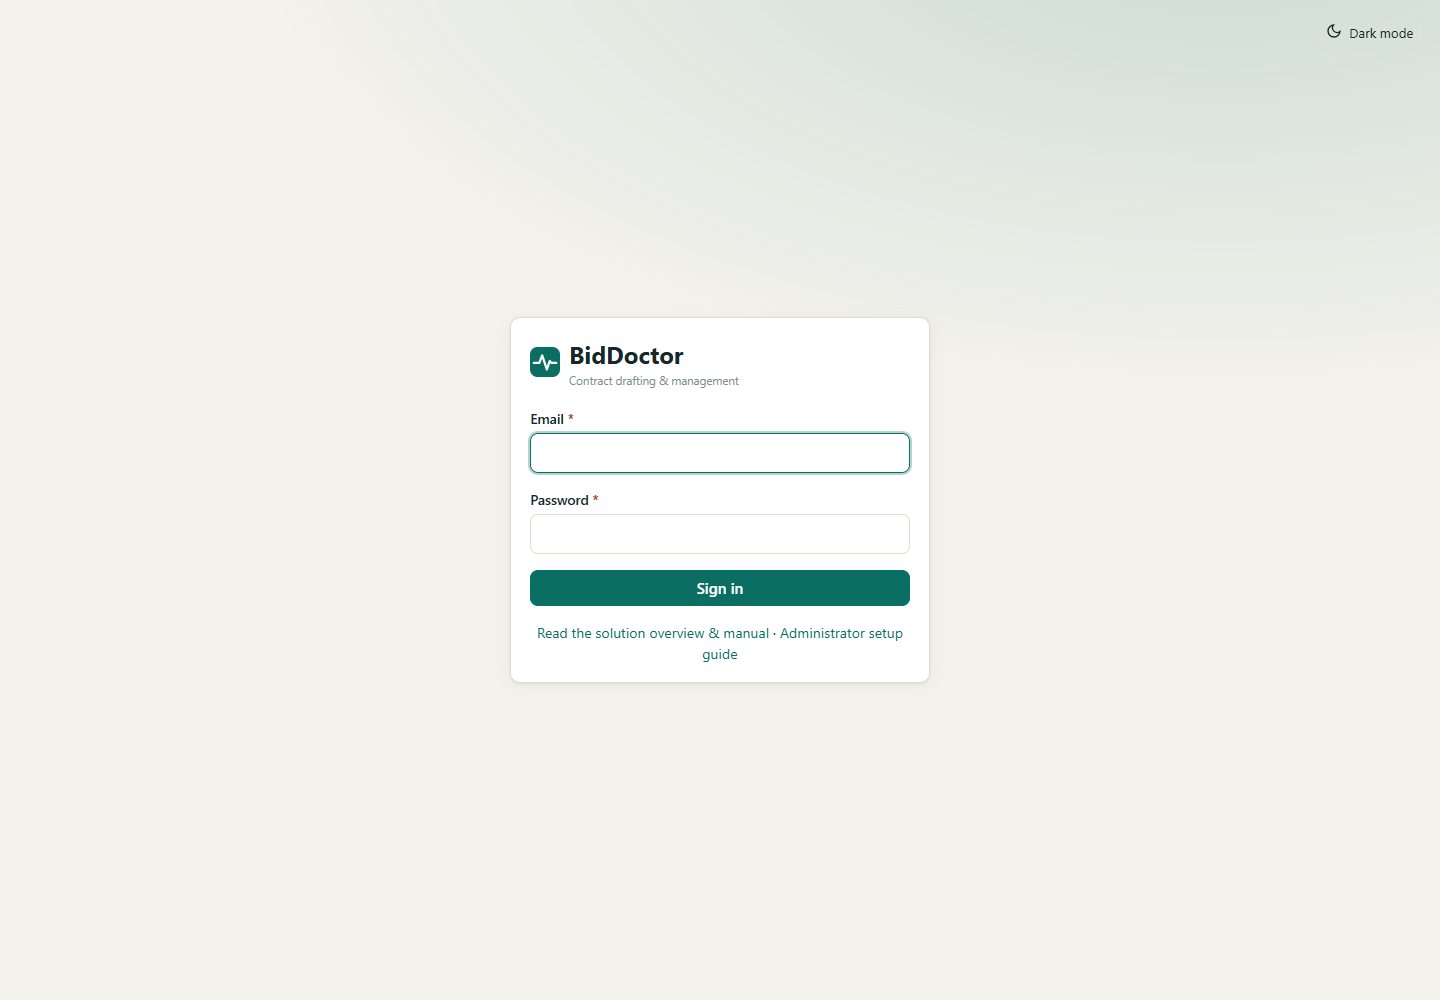
- Open the organisation’s private BidDoctor address supplied by your implementation contact. Confirm the address uses HTTPS and your organisation’s subdomain.
- Sign in with the administrator email and temporary password delivered to you separately. Do not send passwords in the same message as the address.
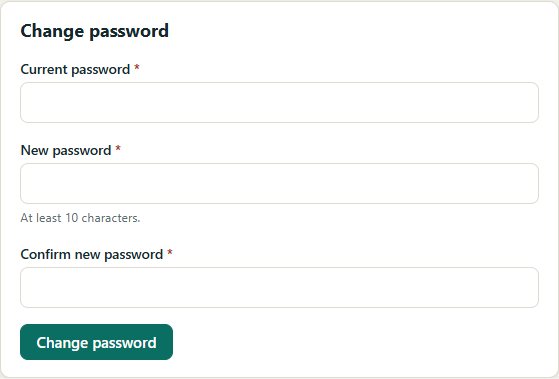
- Open My account and change the temporary password. Use a unique password and do not share administrator accounts.
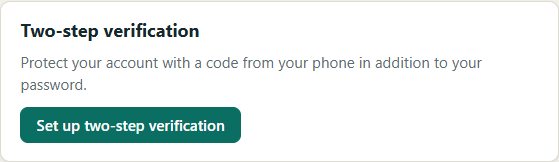
- Set up two-step verification under My account. If your organisation requires it for everyone, the system administrator can enforce it in Admin → Settings & rules.
2. Confirm organisation rules
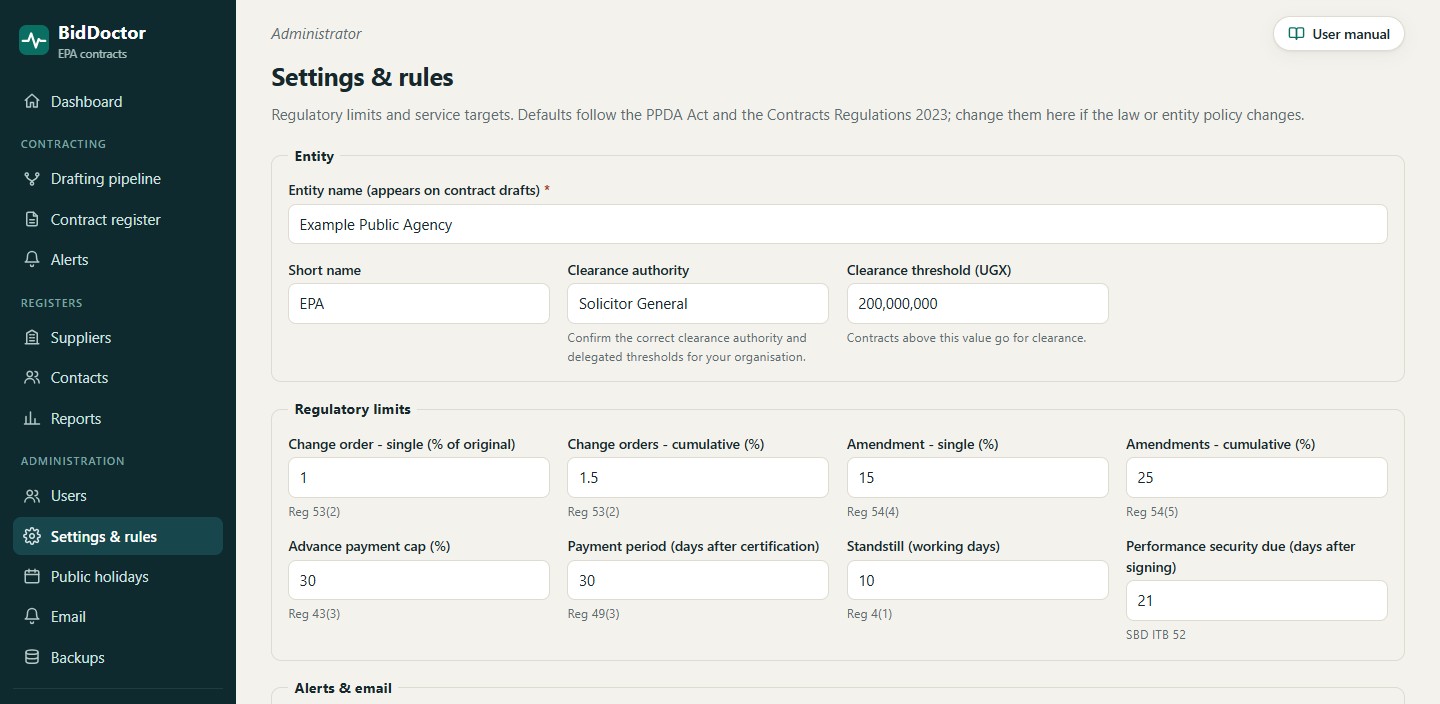
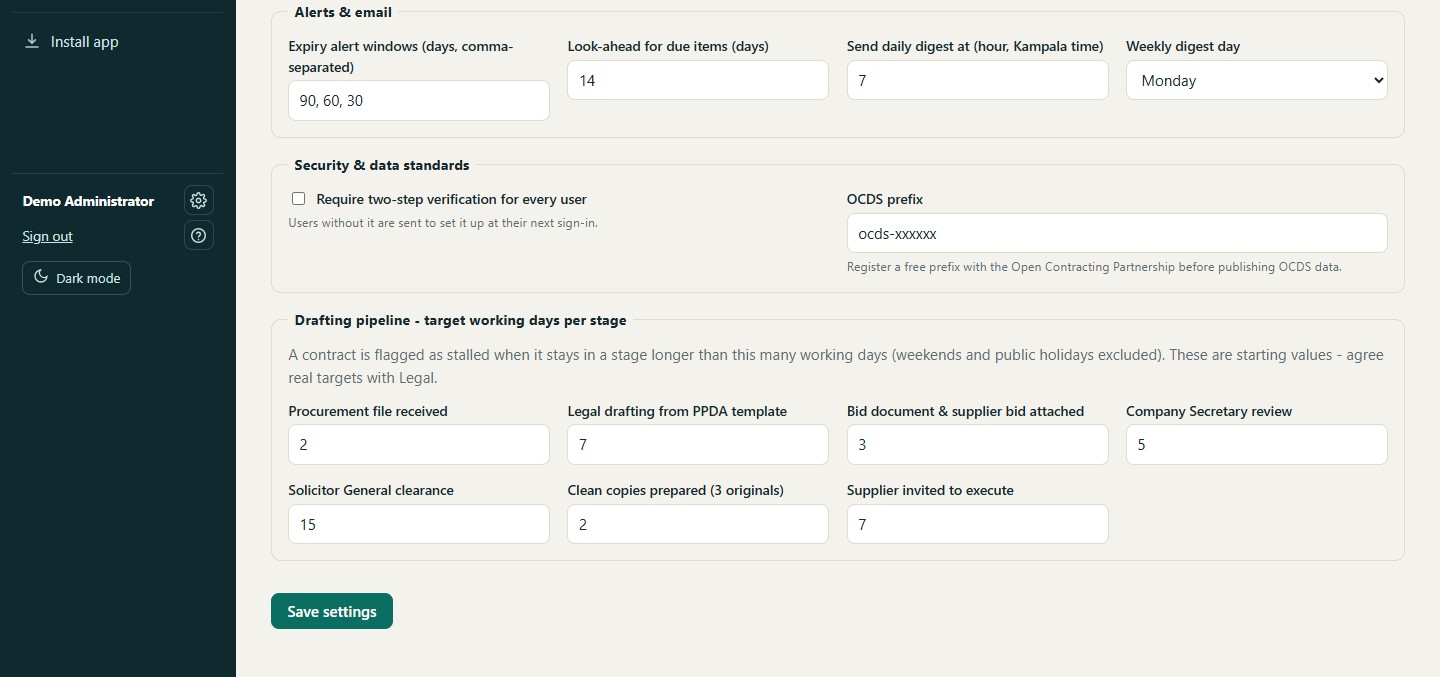
- Review Admin → Settings & rules, including your clearance authority and threshold, approval limits, payment period, standstill, performance-security deadlines, and stage targets.
- Confirm the organisation name and short name shown in the system. Ask your implementation contact to correct deployment-level defaults if needed.
- Review Admin → Public holidays. Add the current gazetted dates for Eid al-Fitr and Eid al-Adha, plus any organisation-specific closures.
- Confirm the Open Contracting Data Standard prefix before publishing OCDS data; use a prefix registered for your organisation.
3. Add users and assign roles
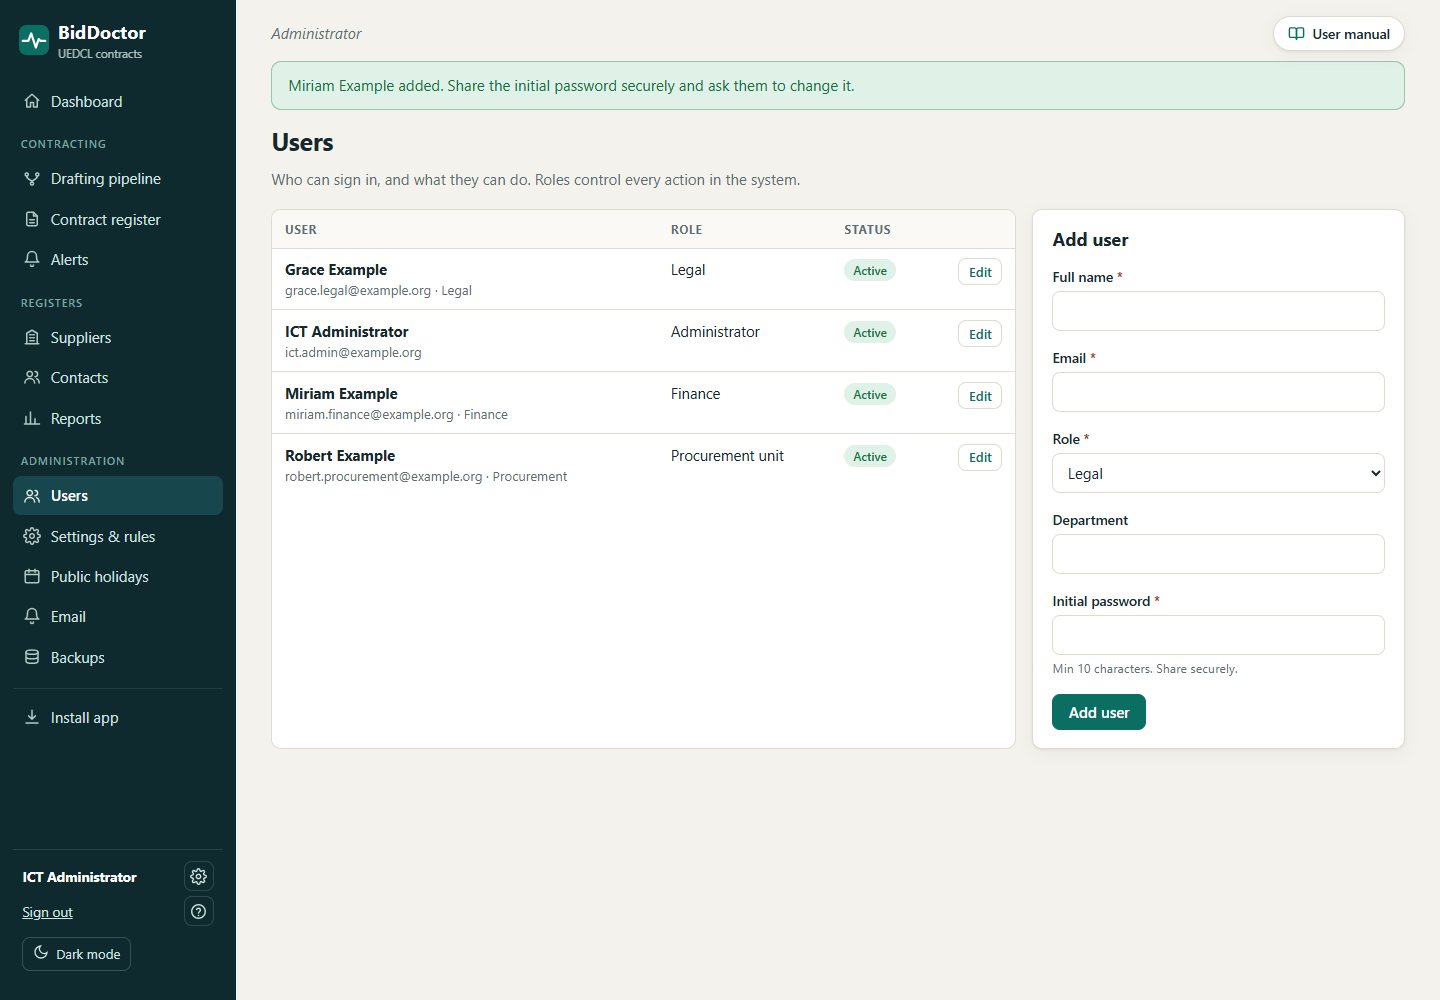
- Open Admin → Users → Add user.
- Use each person’s individual work email, department and least-privilege role. BidDoctor includes Administrator, Legal, Procurement, Company Secretary, Contract manager, Finance and Management roles.
- Set a temporary password of at least 10 characters, then deliver it securely and ask the person to change it at first sign-in.
- Deactivate accounts promptly when access is no longer required. Deactivation preserves the audit history.
See Roles and permissions in the user manual before granting administrator access.
4. Configure email and electronic signing
- Ask your implementation contact to configure your approved mail service. Then open Admin → Email and send a test message to an administrator.
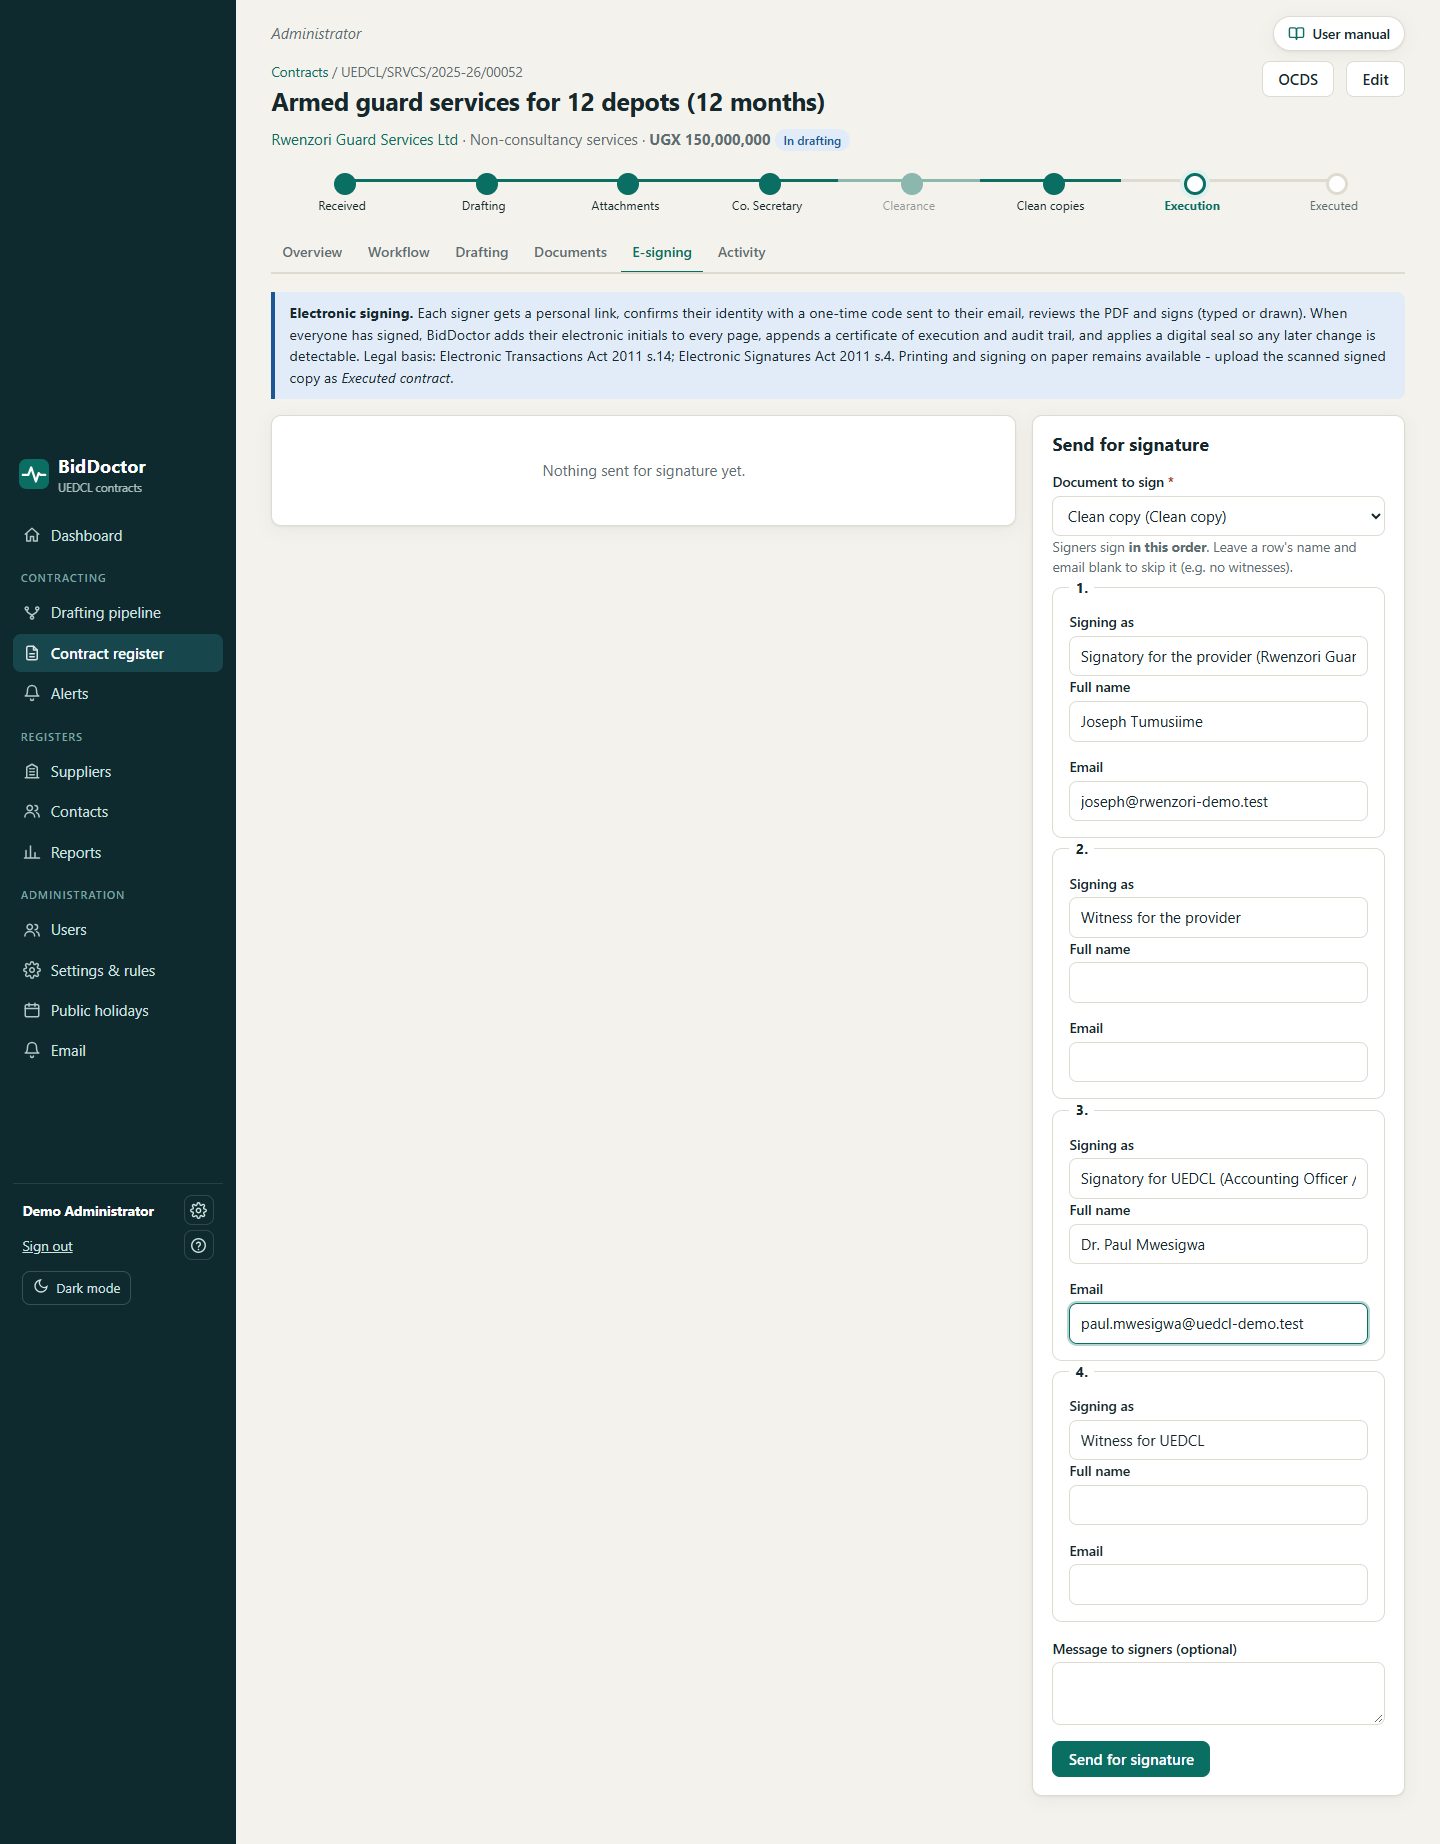
- Test a signing invitation using an approved test contract and recipient before inviting an external supplier. Signing invitations and one-time codes are sent to the recipient’s email address.
- For trusted production PDF seals, your organisation should provide a signing certificate from an appropriate certification service provider. Without one, BidDoctor uses a self-signed development seal that PDF readers will not trust.
- Confirm the sender address, public app URL and email links before using real procurement records.
5. Protect records and prepare for go-live
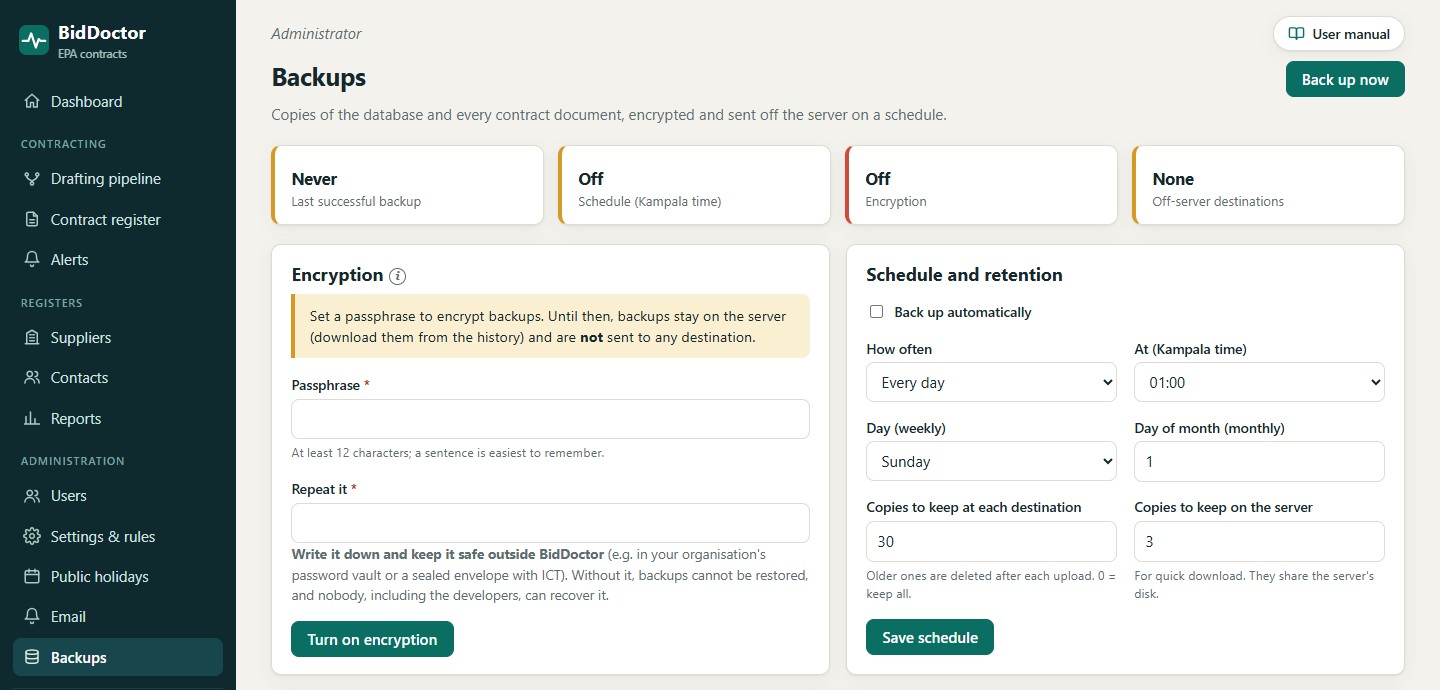
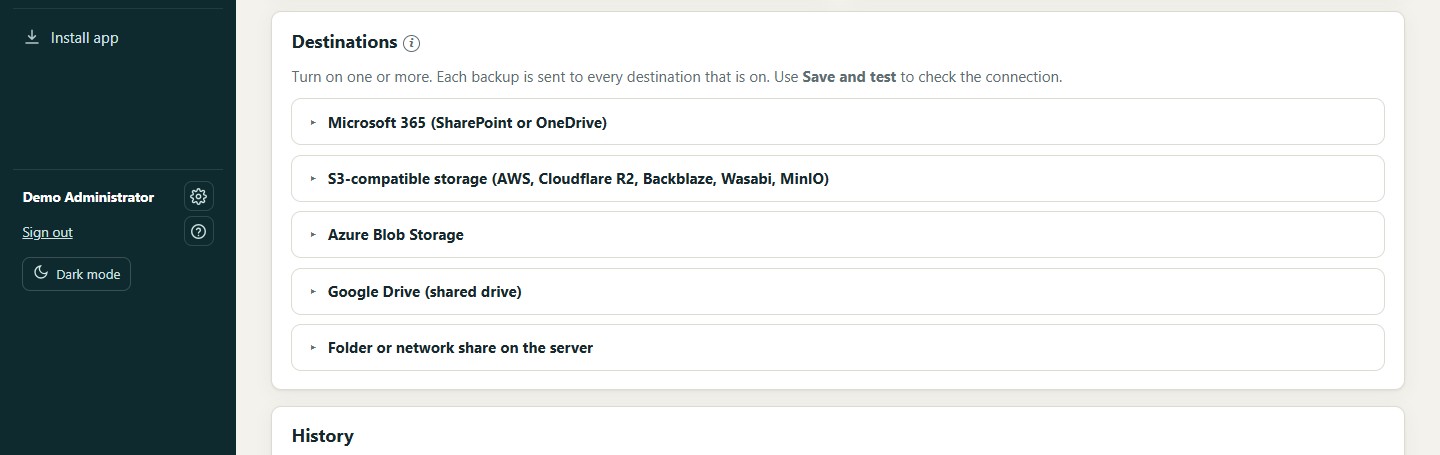
- Configure Admin → Backups with an encrypted off-server destination. Keep the encryption passphrase outside BidDoctor and test a restore before go-live.
- Confirm that your ICT team has access to the organisation’s recovery contact, hosting account and domain renewal arrangements.
- Agree who may create, review, approve, sign and close contracts. Test one representative contract from intake to closure with the relevant roles.
- Check expiry alerts, email delivery, calendar subscriptions, user access and audit records with fictional test data.
- Before importing records, confirm the approved retention schedule and the secure source/export process with your records manager.
6. Know which environment you are using
Each client deployment has its own Railway project, application, persistent volume, database, users and uploaded documents. Client subdomains do not share data. The shared demo at demo.biddoctor.app contains fictional data and is automatically reset; never enter your organisation's records there. The separate biddoctor.app service is not the shared demo.
Your private instance is configured not to run demo resets. Do not change DEMO_MODE, DEMO_SEED, the database path or the persistent-volume settings. Contact your implementation or ICT administrator for hosting changes, restores, domain changes or access recovery.
For detailed task instructions, use the BidDoctor user manual and the administrator section of the documentation.